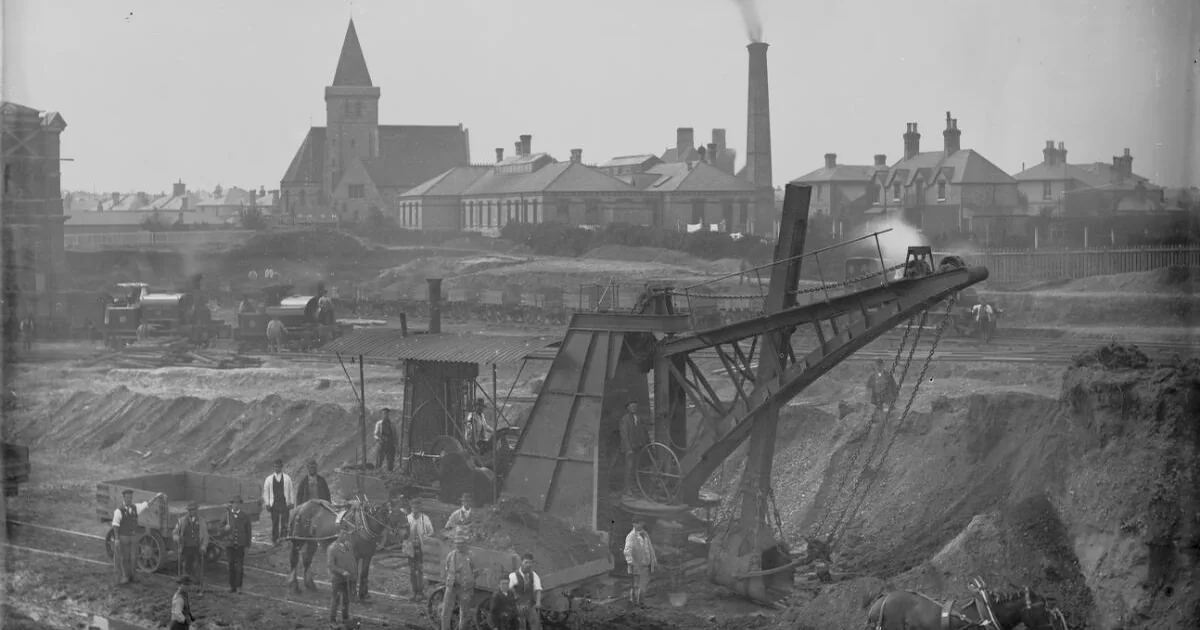

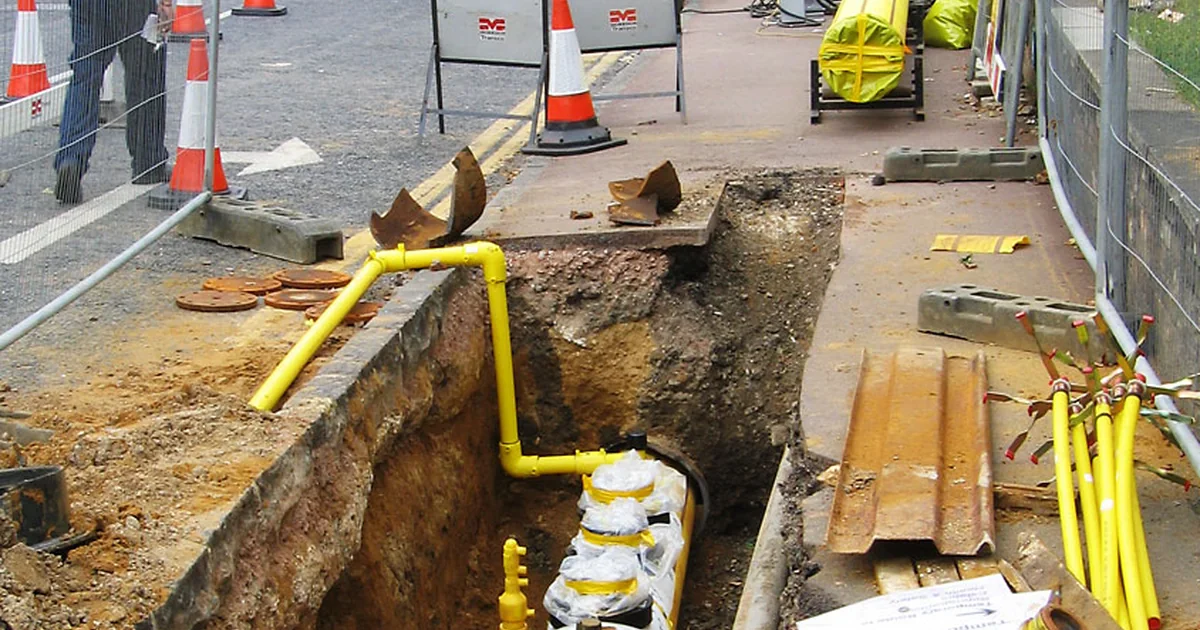
Earthwork is usually the first big quantity on a railway or road project, and it is one of the easiest to get wrong. Cut a cross-section in the wrong place, forget that loose soil bulks, or mix up your side slopes, and the volume you book can drift by a surprising amount. On a long formation that small percentage turns into real money and real arguments at measurement time.
This is a practical field guide to measuring earthwork: what you measure, the method that actually gets used on linear works, a full worked example, and the mistakes that quietly cost you. It is written for site engineers, so it stays close to what you do with a level, a tape and a calculator.
Why earthwork quantities are worth getting right
Earthwork volume is the basis for payment, for planning haul and compaction, and for the progress you report. Three different people care about the same number for three different reasons: the contractor wants to be paid for what was moved, the client wants to pay only for what was actually done, and you, in the middle, have to produce a figure that both sides can check and trust.
That is the real point. A good earthwork measurement is not just accurate, it is defensible. Someone should be able to come back six months later, look at your cross-sections and your arithmetic, and arrive at the same volume. If they cannot follow how you got there, the number is weak no matter how careful you were.
What you actually measure, and in what units
Earthwork is measured as a volume, in cubic metres (m³). That sounds obvious until you remember that the same soil occupies three different volumes during its life:
- In-situ (bank) volume — the soil sitting undisturbed in the ground or in the finished, compacted embankment.
- Loose volume — the same soil after excavation, when it has bulked up in the tipper.
- Compacted volume — the soil after it has been laid and rolled in the embankment.
Under IS 1200 (Part 1) earthwork is generally measured on the in-situ dimensions, that is, from the surveyed ground and formation levels, not from how many tipper-loads went past. This matters, because measuring loose volume in a truck and booking it as in-situ is one of the most common ways a quantity goes wrong. Decide which volume you are measuring before you start, and keep it consistent.
The method most of us use: cross-sections
For anything linear, a railway formation, a road, a canal, the cross-section method is the workhorse. The idea is simple. You take the ground profile across the alignment at regular chainages, you work out the area of cut or fill at each one, and then you compute the volume of soil between consecutive sections.
For a normal embankment on reasonably level ground, with a formation (top) width b and side slopes of n horizontal to 1 vertical, the cross-sectional area at a point of height h is:
A = h × (b + n·h)
That comes straight from the geometry of the trapezoid: the top is the formation width b, the base is b + 2n·h, and the area is the height times the average of the two. The same logic works for a cutting, just measured downward from ground to formation.
Once you have the area at two neighbouring sections, you choose how to turn two areas and a length into a volume. There are three common ways, and they do not give the same answer:
- Mean-section (mid-area) method: volume = area at the mid-section × length. Quick, least accurate.
- Average end-area (trapezoidal) method:
V = L × (A₁ + A₂) / 2. The usual default, and it slightly over-estimates for a rising section. - Prismoidal (Simpson's) method:
V = (L / 6) × (A₁ + 4·A_m + A₂), whereA_mis the area at the true mid-section. The most accurate of the three, and what you should lean on where the contract or the size of the job demands it.
A worked example, start to finish
Take a stretch of railway embankment with a formation width b = 6.0 m and side slopes of 1.5 : 1 (so n = 1.5). We have two surveyed cross-sections, 30 m apart:
- Chainage 0: fill height
h₁ = 2.0 m - Chainage 30 m: fill height
h₂ = 3.0 m
Step 1 — areas. Using A = h(b + n·h):
- A₁ = 2.0 × (6 + 1.5 × 2.0) = 2.0 × 9.0 = 18.0 m²
- A₂ = 3.0 × (6 + 1.5 × 3.0) = 3.0 × 10.5 = 31.5 m²
Step 2 — volume by average end-area:
V = 30 × (18.0 + 31.5) / 2 = 30 × 24.75 = 742.5 m³
Step 3 — volume by the prismoidal method. For that we need the mid-section area. With the height varying linearly, the mid height is h_m = 2.5 m, so:
- A_m = 2.5 × (6 + 1.5 × 2.5) = 2.5 × 9.75 = 24.375 m²
V = (30 / 6) × (18.0 + 4 × 24.375 + 31.5) = 5 × 147.0 = 735.0 m³
So the two methods give 742.5 m³ and 735.0 m³ — a difference of 7.5 m³, about 1% on this one bay. The trapezoidal method over-estimated, as it tends to when the section is growing. The gap looks small here, but multiply it across every pair of sections on a long embankment and it is the kind of systematic error that shows up in a final-bill dispute. Where it matters, use the prismoidal result, or apply the prismoidal correction to your trapezoidal figure.
| Method | Formula | Volume |
|---|---|---|
| Mean / mid-section | A_m × L | 731.25 m³ |
| Average end-area (trapezoidal) | L × (A₁ + A₂) / 2 | 742.5 m³ |
| Prismoidal (Simpson's) | (L / 6)(A₁ + 4A_m + A₂) | 735.0 m³ |
When to switch to the grid method
Cross-sections are right for long, narrow works. For a wide area, a yard, a station site, a large cut for a building platform, they fall apart, because a single line across does not describe a surface that changes in two directions. There the grid (or borrow-pit) method works better.
You lay out a grid of squares over the area, take a level at every grid node before and after the work, and the depth of cut or fill at each node is the difference. The volume is then the plan area of each square times the average of the depths at its corners. Add the squares up and you have the volume. It is more levelling, but on an irregular surface it is far more honest than pretending one cross-section speaks for the whole area.
Bulking and shrinkage: the trap everyone hits
This is where quantities and reality drift apart. When you dig soil out, it loosens and takes up more space than it did in the ground; that is bulking. When you place and compact it in an embankment, it ends up occupying less space than the loose heap, and often a little less than it did in its original bank state; that is shrinkage.
The practical consequence: the in-situ volume you need to dig from a borrow area is not equal to the compacted volume you are filling. If you size your borrow off the embankment volume alone, you will come up short. Bulking and shrinkage factors depend heavily on the soil, its moisture and the compaction you achieve, so they should come from your project's own tests under IS 2720 (Methods of Test for Soils) and your specification, not from a number borrowed off the internet. The principle to carry around is simple: state which volume you are quoting, and convert deliberately when you move between them.
Common mistakes on site
- Too few cross-sections. On curves, on broken ground, or wherever the slope changes, one section every fixed interval is not enough. Add a section at every genuine change of ground, not just at round chainages.
- Wrong side slopes. Booking 2:1 when the design and the actual cut are 1.5:1 quietly changes every area you compute. Check the slope you are actually measuring.
- Measuring loose, booking in-situ. Counting tipper-loads and calling it in-situ volume ignores bulking entirely.
- Forgetting to strip topsoil. Stripping and the embankment fill are usually separate items; rolling them together overstates one and loses the other.
- Mixing units and rounding too early. Keep everything in metres and cubic metres, and round only the final figure.
- Trapezoidal everywhere. Convenient, but on rising or falling sections it has a built-in bias. Know when the prismoidal method is worth the extra step.
- No record of how the number was made. A volume with no cross-section register behind it is impossible to defend later.
A field checklist
- Confirm the measurement basis (in-situ, loose or compacted) before you start.
- Use the formation width and side slopes from the approved drawing, and check them against what is actually built.
- Take cross-sections at the specified chainage interval and at every change of ground.
- Record original ground levels and formation levels for every section.
- Choose your volume method deliberately; use prismoidal where accuracy or the contract demands it.
- Apply bulking or shrinkage from tested factors when converting between volumes.
- Keep a clear cross-section register so anyone can re-trace your figure.
- Follow IS 3764 (Excavation Work — Code of Safety) for the dig itself; a quantity is no use if the excavation is unsafe.
None of this is difficult. The engineers who measure earthwork well are simply the ones who decide their basis up front, take enough sections, pick the right volume formula, and write down the workings so the number can stand on its own. If you record those quantities the same day you measure them, ideally in your daily progress report rather than on a loose sheet, the measurement stays defensible long after the soil has moved.