
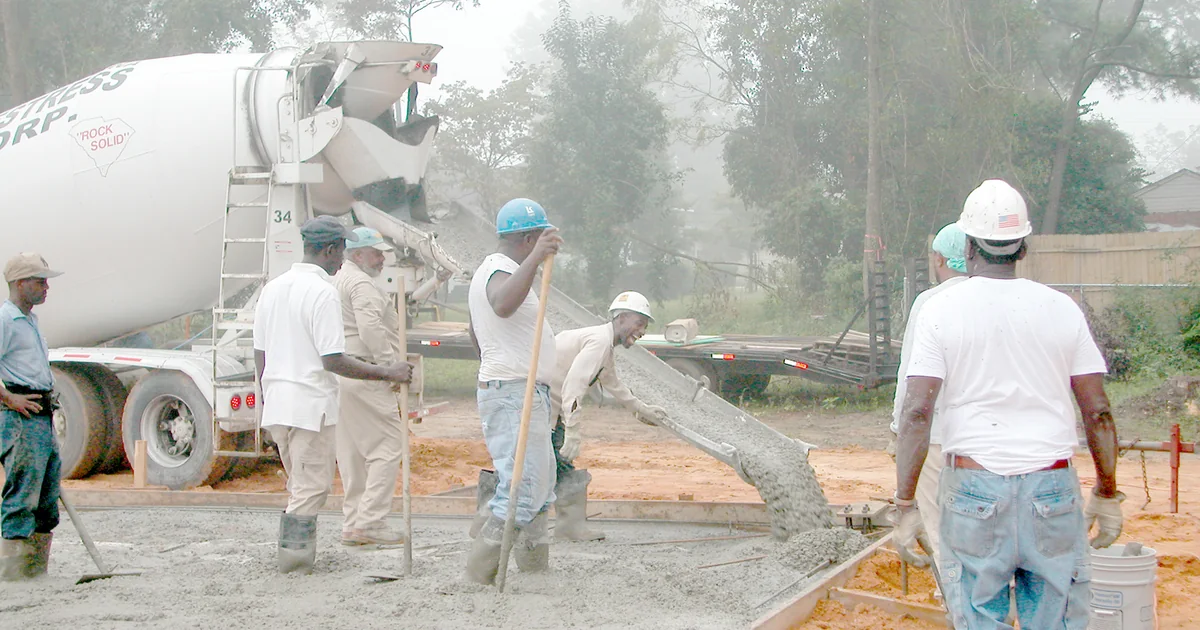
There is a moment on every site, just after the concrete goes in, when the work becomes permanent. You cannot un-pour a footing. If the mix was wrong, the cover was short, or the curing never happened, you will not see it today, and sometimes not for years. When the question finally comes, and it does come, the only thing standing between you and a guessing game is the record you made on the day.
That is what this article is about: what to write down for a concrete pour, and why each item earns its place long after the formwork is gone. It is written for site engineers who would rather spend two minutes now than two weeks reconstructing a pour later.
Concrete is unforgiving — the paperwork shouldn't be
Most site records describe something you can still go and look at. A concrete pour record is different, because the thing it describes disappears inside the element. Once it has set, you cannot measure the slump that went in, count the cubes you should have taken, or check the temperature on a hot afternoon. The record is not a copy of the evidence. After the pour, it is the evidence.
That single fact should change how seriously the pour card is treated. It is not box-ticking for the file. It is the only witness to a decision that is now buried in the structure.
What a concrete pour record actually is
A pour record, sometimes called a pour card or concreting register, is the dated, signed account of one concreting operation: where it was, what went in, how it was placed and cured, and what tests were taken. A good one reads in three parts that follow the work itself:
- Before — the setup you cleared and the materials you accepted.
- During — what actually happened as the concrete went in.
- After — curing, formwork striking, and the test results that come back days later.
Miss the first and you cannot prove the element was fit to pour. Miss the second and you cannot defend the concrete itself. Miss the third and you have no evidence it ever reached strength.
Before the pour: clear it, then capture the setup
Nothing should be poured until the element has been checked and cleared, often through a formal pour clearance or permit. Whatever your site calls it, the record should capture:
- What and where: element type, location, grid or chainage, drawing and revision number.
- The mix: grade of concrete and the approved mix design reference. Mix proportioning in India follows the guidance of IS 10262, and the grade ties back to IS 456.
- Reinforcement and cover: that the steel matches the bar bending schedule and the clear cover meets the drawing. Cover is a durability item under IS 456, and it is set permanently the moment you pour.
- Formwork: checked for line, level, tightness and cleanliness.
- Materials accepted: cement type and grade, aggregates conforming to IS 383, and water fit for concreting. For ready-mixed concrete, record the supplier and the delivery details under IS 4926.
- Conditions: date, time and weather. If it is hot or cold, note that you are following IS 7861 for extreme-weather concreting.
During the pour: the things you can never get back
This is the irreplaceable part of the record, because every item here vanishes once the concrete stiffens. Capture, as it happens:
- Start and finish time, and the total quantity placed.
- Workability: the slump, measured to IS 1199, recorded against the specified value. A slump that drifts batch to batch is an early warning worth having on paper.
- Concrete and ambient temperature, especially in hot or cold weather.
- Placing and compaction method, and confirmation of full compaction without segregation.
- Cubes taken: how many samples, and the identifying marks (see the next section).
- RMC traceability: truck or docket numbers and delivery times for each load.
- Water added on site: ideally none. If any is added, it must be recorded, because uncontrolled water at the truck is one of the quiet killers of concrete strength.
- Interruptions: any delay or cold joint, with the time and reason.
Sampling and cubes: what IS 456 expects
Compressive strength is the headline property of structural concrete, and it is judged on cubes cast from the pour and tested later. The specimens are 150 mm cubes, and strength is determined to IS 516, normally at 7 days as an early indicator and at 28 days as the basis for acceptance.
How many cubes? IS 456 sets a minimum frequency of sampling for each grade of concrete, broadly:
| Quantity of concrete in the work (m³) | Minimum number of samples |
|---|---|
| 1 – 5 | 1 |
| 6 – 15 | 2 |
| 16 – 30 | 3 |
| 31 – 50 | 4 |
| More than 50 | 4 plus one for each additional 50 m³ or part thereof |
Each sample usually means a set of cubes (commonly three for the 28-day test), so your record should note the number of samples, the cubes per sample, and a unique mark on each so it can be traced back to this exact pour. A cube with no link to a pour proves nothing.
After the pour: curing, striking and results
The pour is not finished when the last barrow is tipped. The record should follow it through:
- Curing: method, the time it started, and how long it ran. IS 456 calls for curing of at least seven days for ordinary Portland cement concrete, longer for blended cements and in hot, dry weather. Curing is where a good mix is quietly lost, so the dates matter.
- Formwork striking: when each form was removed, against the minimum periods in IS 456. Strike too early and you risk the element; the record shows you did not.
- Test results: the 7-day and 28-day cube strengths when they come back, noted against this pour and its grade.
- Defects and repairs: any honeycombing, cold joint or remedial work, with what was done.
Why it all matters months later
Every item above is dull on the day and priceless later. When a 28-day result comes in low, the pour record is what lets you trace whether it was the slump, the temperature, water at the truck, or simply a bad cube. When a crack appears in a year, the record of cover, mix and curing is the start of any honest root-cause investigation. When there is a payment dispute, a complete, signed pour register is worth more than the strongest memory. And at handover or audit, it is the evidence that the structure was built the way the drawings said.
Good concrete and good records are made at the same time. You cannot add either one after the pour has set.
Common mistakes
- Cubes with no traceable mark. A result you cannot tie back to a specific pour and grade is almost useless.
- Recording the time but not the slump or temperature. These are the values you can never recover, so they are the ones most worth capturing.
- Silent water at the truck. Water added to ease placing, and never recorded, hides the real cause of a weak result.
- Treating curing as understood. If the curing dates are not written down, you cannot prove it happened at all.
- Filling the card from memory that evening. By then the slump is a guess and the truck numbers are gone. Record at the pour.
- No link to the drawing revision. Without it, you cannot show the element matched the current design.
A concrete pour record checklist
- Element, location, and drawing with its revision number.
- Grade and approved mix design reference.
- Reinforcement and clear cover checked against the drawing.
- Formwork and cleanliness cleared before pouring.
- Materials accepted: cement, aggregates (IS 383), water; RMC details (IS 4926) if used.
- Start and finish time, and total quantity.
- Slump (IS 1199) and concrete/ambient temperature for each sample.
- Cubes taken per IS 456 frequency, each uniquely marked for IS 516 testing.
- Any water added on site, and any interruption or cold joint.
- Curing method, start and duration; formwork striking times.
- 7-day and 28-day results recorded against the pour.
- Signed and dated by the responsible engineer.
None of this takes long once it is a habit, and the habit is the point. The engineers who never get caught out by a concrete question are simply the ones who wrote it down while the concrete was still wet. Recording it the same day, ideally in your daily progress report rather than a loose card that goes missing, is what keeps the evidence alive long after the structure is standing.