

On a modern construction site, the camera in your pocket is one of the most useful tools you carry. A good photo is a physical record of how the work changed, it backs up everything you write in your reports, and when there is an argument about what really happened, it can settle it in seconds. The trouble is that most engineers take hundreds of photos and still cannot find the right one a year later, when it finally matters.
The fix is not a better phone. It is a simple system built on three habits: how you name photos, the angles you shoot from, and how often you take them. Get those three right and your photos turn from a messy gallery into a record you can actually use.
Why site photos matter more than ever
Photos do three jobs on a site, and all three pay off later rather than today.
- They record change. Concrete gets poured, trenches get backfilled, structures rise. A photo freezes a moment you can never get back once the work moves on.
- They support your documents. A line in a daily report saying "pier 4 reinforcement complete" is good. The same line with a dated photo behind it is far stronger.
- They prove facts. When there is a question about quality, progress or a delay, a clear, dated image is evidence in a way that words alone are not.
The catch is that a photo only does these jobs if you can find it and trust its date and place. A folder of three thousand files called IMG_4821 proves almost nothing.
The three things that ruin most site photos
Before the system, it helps to name what goes wrong. Almost every messy photo library has the same three problems: the files have meaningless names so nothing can be found, the photos are shot from random angles so you cannot see change over time, and they are taken whenever someone remembers rather than when it actually matters. The three habits below fix exactly those three problems, in order.
A site photo is only as useful as your ability to find it later and prove when and where it was taken.
A naming system you'll actually keep
The single biggest improvement you can make is to name photos so they sort themselves and explain themselves. A good name puts the date first, then the location, then the subject, then a number. Like this:
Why date first? Because then your files line up in chronological order on their own, with no effort. The location and subject mean you can search "pier4" or "rebar" and find every relevant photo. Keep it lowercase, use underscores instead of spaces, and use the same pattern every single time. It feels fussy for the first week and saves you hours forever after.
Angles: shoot from the same place every time
If you want a photo to show change, you have to remove everything that changes except the work. The easiest way is to shoot from the same spots each visit. Pick a few fixed photo points around the work, mark them on a simple sketch, and always stand there and point the same way.
A few more habits make every shot count. Get something in the frame for scale, a person, a tape, a helmet. Take one wide shot to show where you are, then move in close for the detail. Keep the sun behind you so the subject is lit, and keep your thumb off the lens. None of this needs skill, only a small routine you repeat.
Frequency: how often, and when it really counts
On active work, a few photos every day is a sensible baseline. But frequency is not really about a number. It is about catching the moments you can never photograph again. The golden rule is simple:
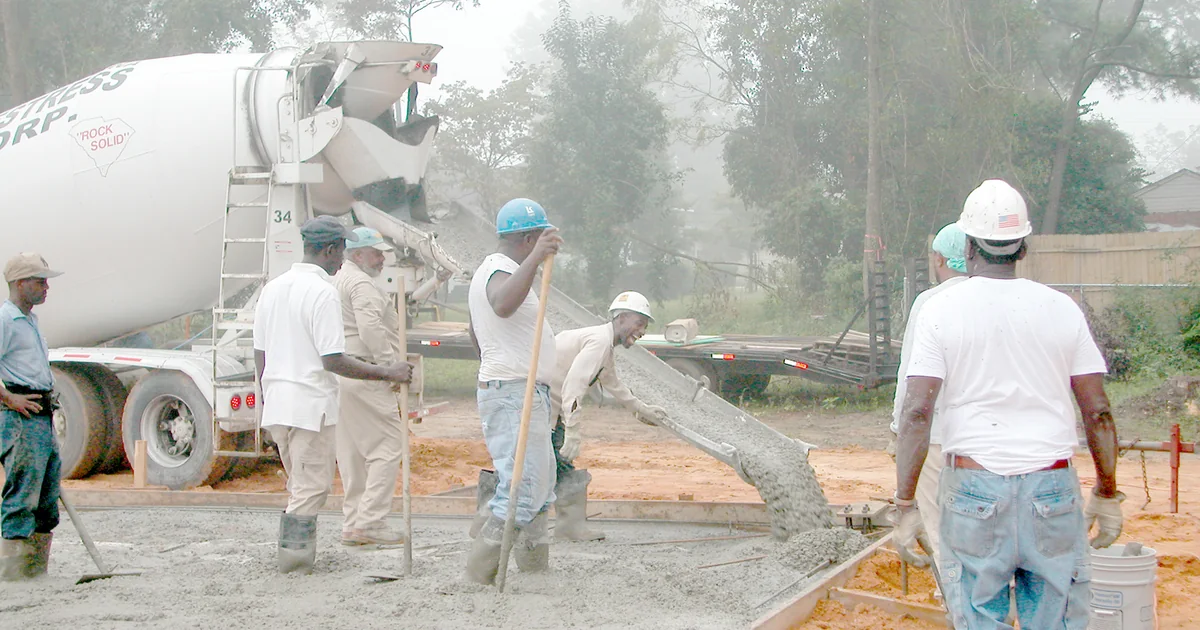
Always photograph work just before it is covered up. Reinforcement before the concrete pour. Foundations before backfill. Services before the trench is closed.
Once that rebar is under concrete, no camera on earth can show what it looked like. Those "about to be hidden" photos are the most valuable ones you will ever take, because they are the only proof that what is now buried was built correctly. Beyond that, photograph milestones, anything that goes wrong, weather damage, and the before-and-after of any event you might need to explain later.
Keeping photos tied to the day
A perfect photo is wasted if it lives only on a phone that gets lost, or in a gallery with no link to the work it shows. Two simple rules keep them safe and useful. First, get them off the phone and backed up, the same day if you can. Second, tie each photo to the day and the entry it belongs to.
The neatest way to do the second is to attach photos straight to your daily record. When you log the day in a tool like Railway DPR, the photos sit with that entry, so the picture and the words can never drift apart. A photo attached to "21 June, pier 4, reinforcement complete" carries its own date, place and meaning wherever it goes.
Common mistakes
- Default file names. IMG_4821 tells you nothing. Rename, or use a tool that records date and place for you.
- Random angles. If every photo is from a different spot, you cannot see progress between them.
- Nothing for scale. A close-up of concrete with no reference could be anything, anywhere.
- Missing the cover-up shot. Forgetting to photograph rebar before the pour is the one mistake you can never undo.
- Leaving photos only on the phone. No backup means one dropped phone wipes the record.
- Photos with no link to a date or entry. An undated, unplaced image proves very little.
A simple site photography checklist
- Name every photo date-first: date, location, subject, sequence.
- Shoot from a few fixed photo points, the same way each visit.
- Include something for scale in the frame.
- Take a wide shot for context, then a close shot for detail.
- Always photograph work just before it is covered up.
- Capture milestones, problems and weather damage.
- Back the photos up off the phone the same day.
- Attach each photo to its day's record so it keeps its date and place.
There is nothing clever here, and that is the point. A good site photography habit is just naming, angles and frequency, repeated until they are automatic. Do that, and the day someone asks "what did this look like before we covered it?", you will have the answer ready, dated, and impossible to argue with.